Holts Valve Grinding Kit
Holts Valve Grinding Kit
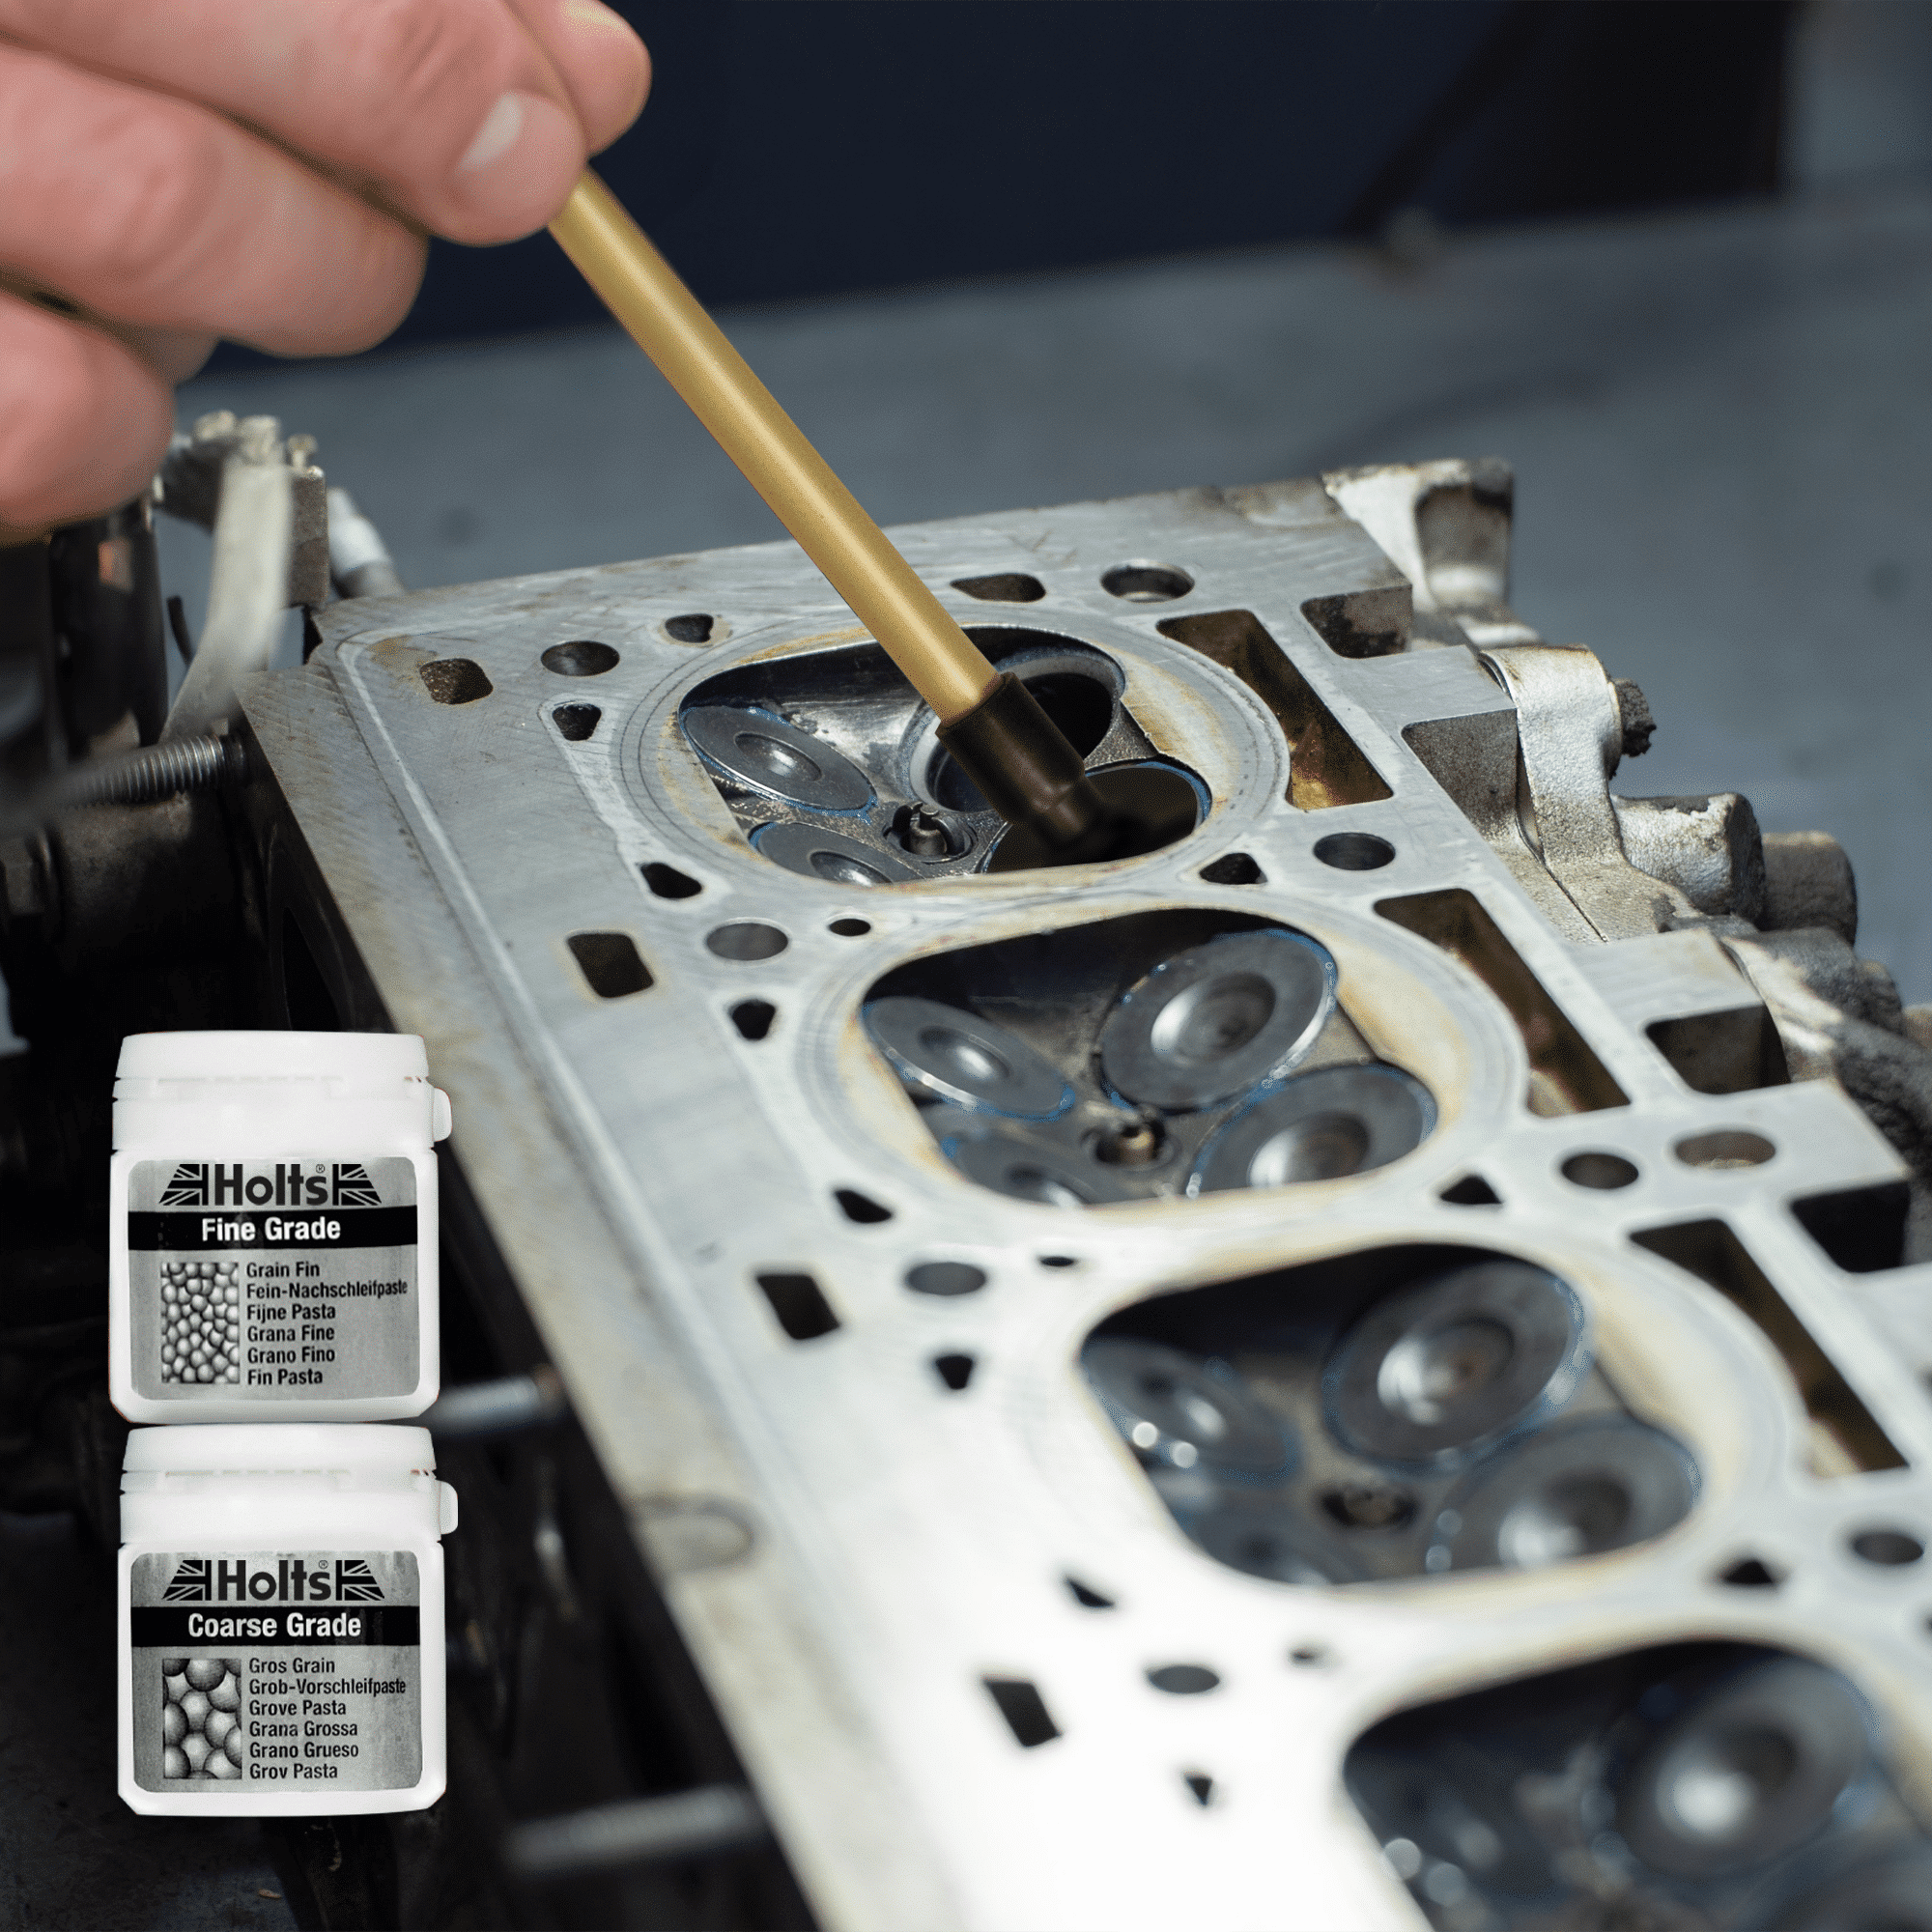
Holts Valve Grinding Kit contains two grades of high quality abrasives to remove stubborn deposits and also to resurface and “reseat” valves.
- Easy to use
- Professional resurfacing
Fuel combustion causes stubborn deposits to build up on the valves, which can prevent them from closing properly. This is made worse by modern fuels that lack lubrication.
When the build-up starts to prevent a gas tight seal between the valve and the seat, they may need to be reconditioned, and you can do this with a Holts Valve Grinding Kit.
- Easy to use
- Professional resurfacing
- Contains two grades of polish – one to cut back and one to polish the surface
Cylinder head valves control the intake of fuel/air and the removal of exhaust gases from your car’s combustion chamber.
The valves open to do this, but it is crucial that when they close, the valves create a gas tight seal with the valve seats.
If they don’t close tightly it can cause a loss of compression, resulting in a significant loss of power.
The Holts Valve Grinding Kit contains two grades of high quality abrasives to remove stubborn deposits, resurface and “reseat” the valves.
The coarse grade polish can be used to resurface heavily soiled valves or pitted valve seats with minimum effort, while the fine grade abrasive rapidly polishes the valve seats.
Using the abrasives with the suction cup stick will help to seat your valves correctly, restore cylinder compression and improve engine power and efficiency.
Name: Holts Valve Grinding Kit
Manufacturer’s Code: VG4RA
How to Use:
Begin by removing the cylinder head from the engine to access the valves. Ensure the work area is clean and well-ventilated. Gather all the necessary tools included in the kit.
Thoroughly clean the valve and valve seat using a suitable solvent to remove any carbon deposits, oil residue, or other contaminants. Ensure both the valve and valve seat are completely clean and dry before proceeding.
Apply a small amount of valve grinding compound to the valve seat. This abrasive paste helps to grind and lap the valve and valve seat surfaces together for a proper seal. Use a small brush or applicator provided in the kit to apply the compound evenly.
Place the suction cup grinding tool onto the valve head, ensuring a secure and airtight seal. Hold the valve firmly in place and apply gentle pressure while rotating the valve back and forth. This action grinds the valve against the valve seat, removing imperfections and ensuring a tight seal.
Periodically remove the valve and inspect both the valve and valve seat surfaces for even grinding and a consistent contact pattern. Continue lapping until the desired contact pattern is achieved, indicating a proper seal.
Once satisfied with the grinding results, thoroughly clean the valve and valve seat to remove any remaining grinding compound. Inspect both surfaces closely to ensure they are smooth, clean, and free from any debris or imperfections.
After completing the valve grinding process for all valves, reassemble the cylinder head following the manufacturer’s specifications. Ensure all components are properly installed and torqued to the recommended values.
SDS InformationYou can find SDS/regulatory safety information for our products here. You can also find this link at the bottom of every page on Holts’ website.
This link takes you to a database containing MSDS sheets for all Holts products, including Tyreweld, Gun Gum, Radweld, Wondarweld, De-Icer and more. Simply select the relevant product in the drop down and you will be provided with all regulatory information for any Holts product.
If you have any further questions or concerns about Holts products or our ingredients, you can contact our chemists here. Our experienced team use rigorous testing and follow regulatory procedures to bring you safe, high quality products, and our team will be happy to help you with your query.
Fuel combustion causes stubborn deposits to build up on the valves, which can prevent them from closing properly. This is made worse by modern fuels that lack lubrication.
When the build-up starts to prevent a gas tight seal between the valve and the seat, they may need to be reconditioned, and you can do this with a Holts Valve Grinding Kit.
- Easy to use
- Professional resurfacing
- Contains two grades of polish – one to cut back and one to polish the surface
Cylinder head valves control the intake of fuel/air and the removal of exhaust gases from your car’s combustion chamber.
The valves open to do this, but it is crucial that when they close, the valves create a gas tight seal with the valve seats.
If they don’t close tightly it can cause a loss of compression, resulting in a significant loss of power.
The Holts Valve Grinding Kit contains two grades of high quality abrasives to remove stubborn deposits, resurface and “reseat” the valves.
The coarse grade polish can be used to resurface heavily soiled valves or pitted valve seats with minimum effort, while the fine grade abrasive rapidly polishes the valve seats.
Using the abrasives with the suction cup stick will help to seat your valves correctly, restore cylinder compression and improve engine power and efficiency.
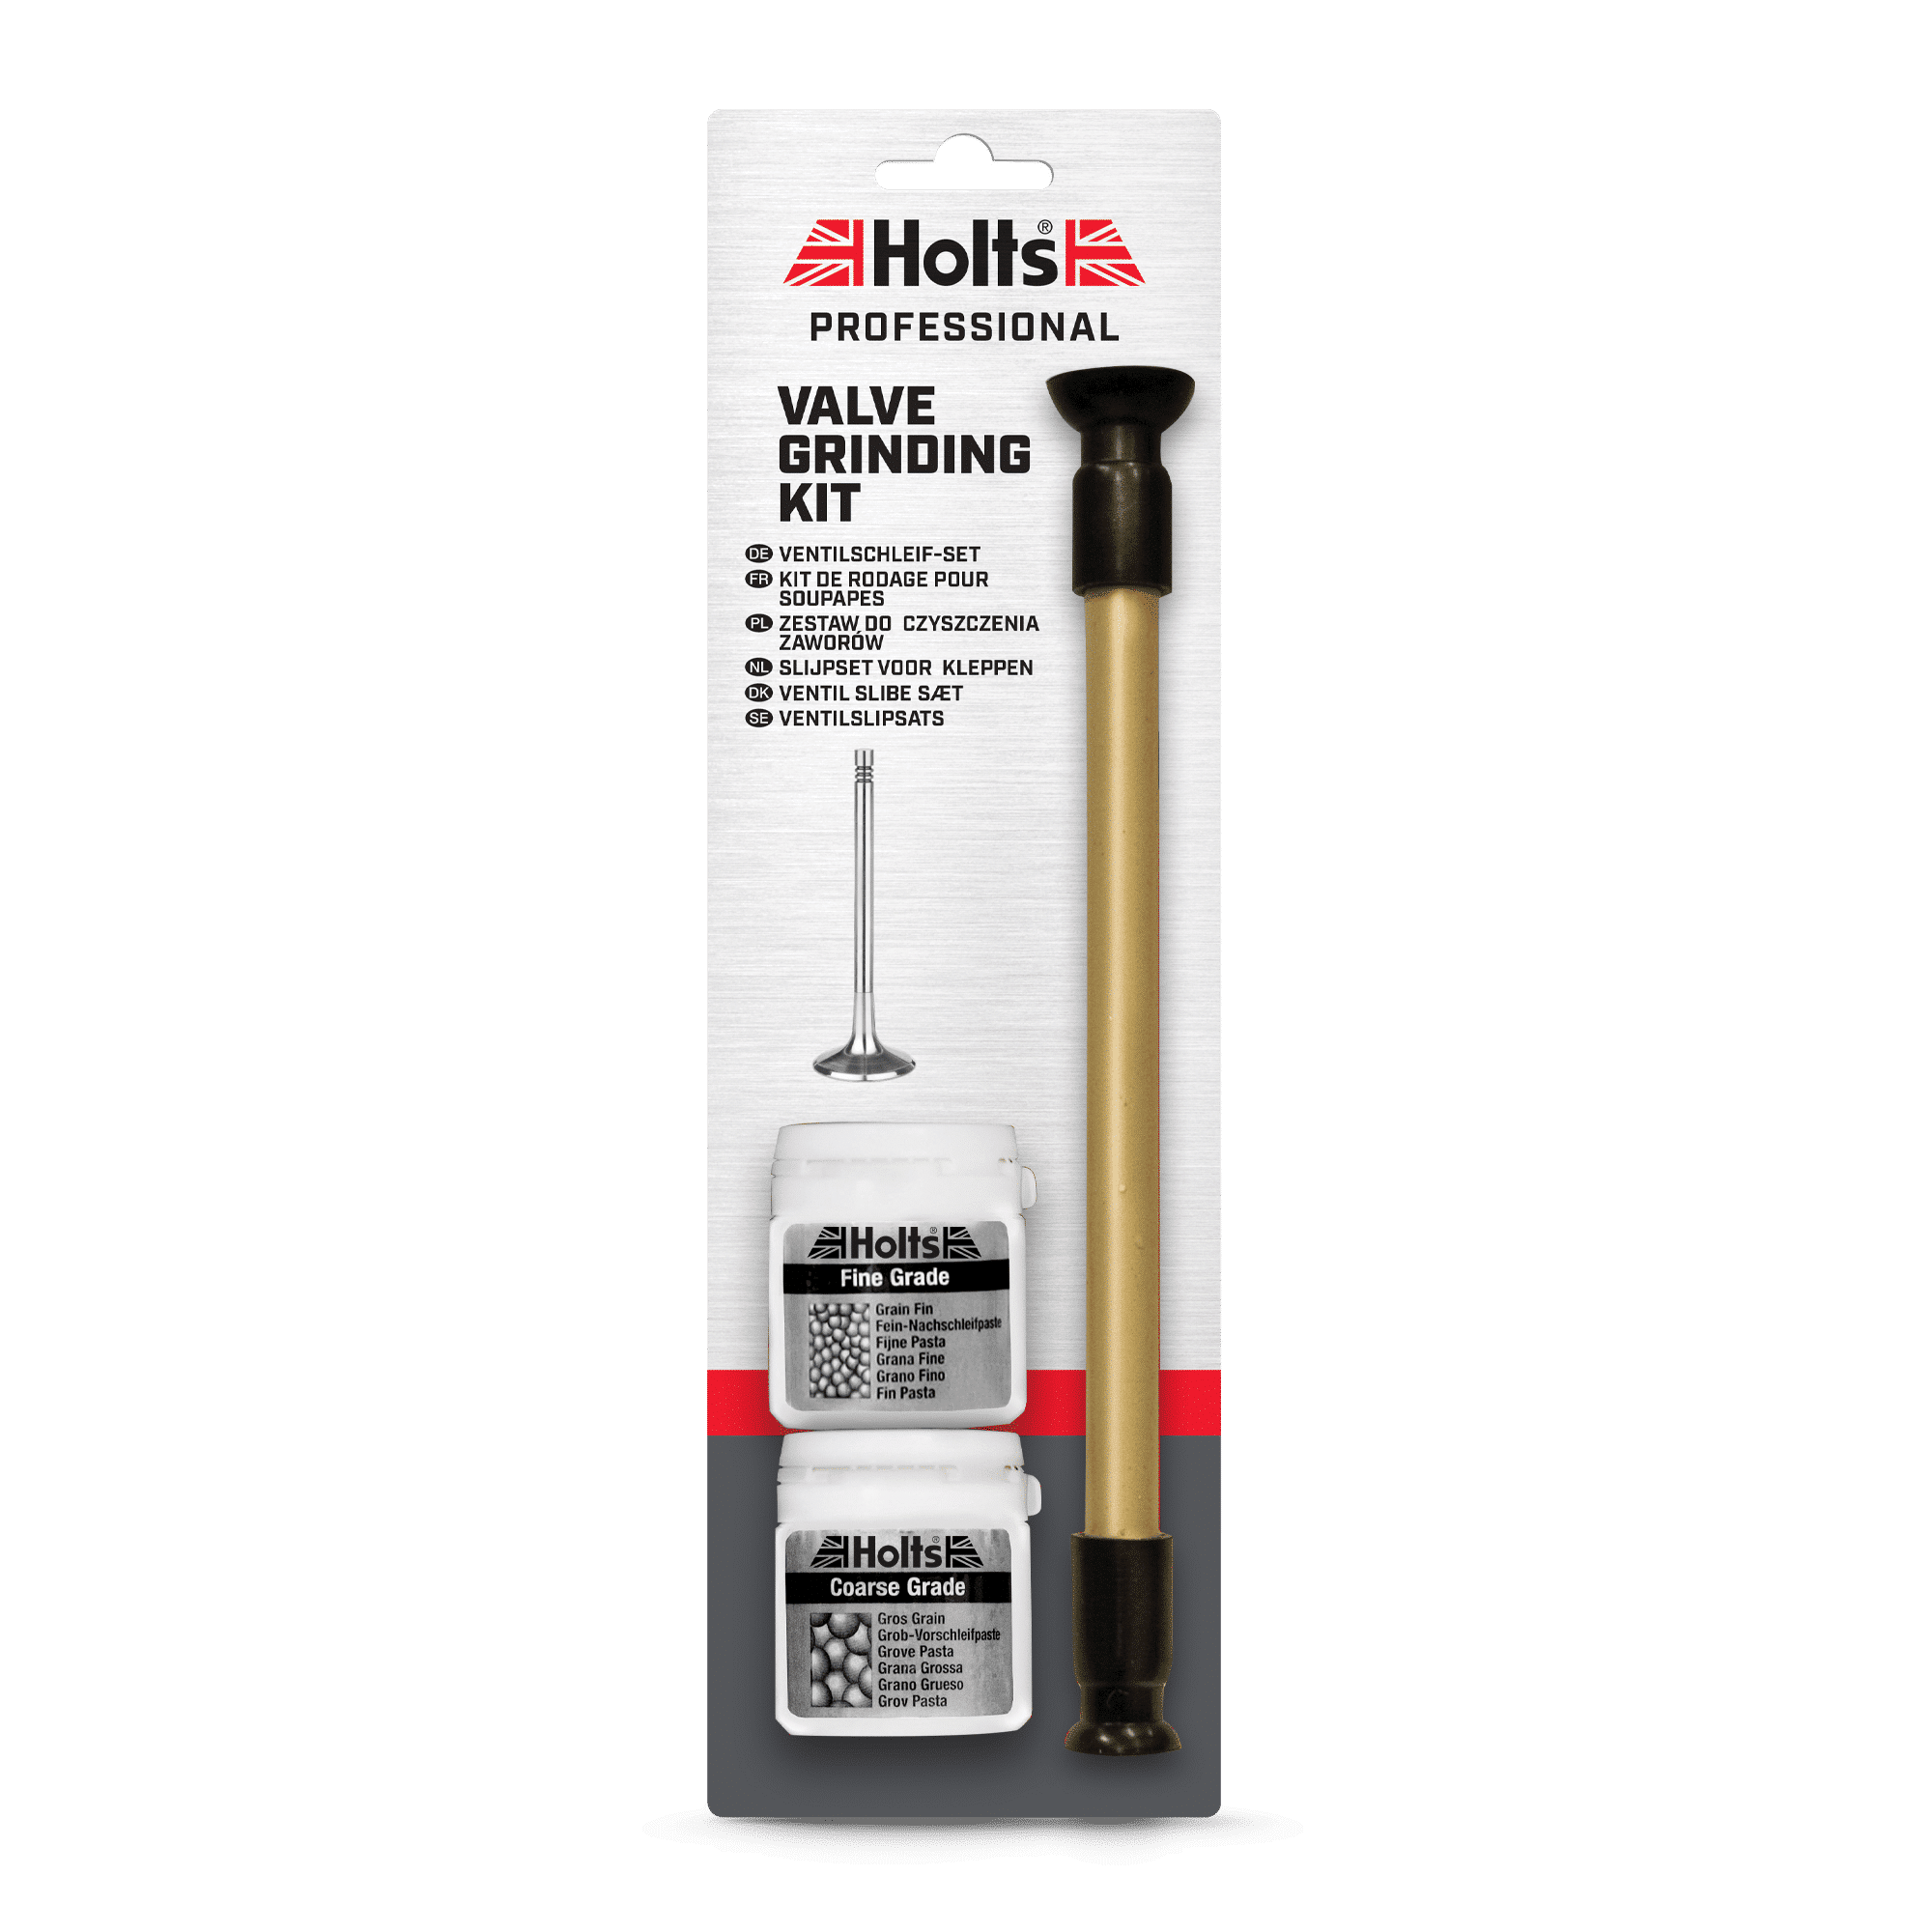
Name: Holts Valve Grinding Kit
Manufacturer’s Code: VG4RA
How to Use:
Begin by removing the cylinder head from the engine to access the valves. Ensure the work area is clean and well-ventilated. Gather all the necessary tools included in the kit.
Thoroughly clean the valve and valve seat using a suitable solvent to remove any carbon deposits, oil residue, or other contaminants. Ensure both the valve and valve seat are completely clean and dry before proceeding.
Apply a small amount of valve grinding compound to the valve seat. This abrasive paste helps to grind and lap the valve and valve seat surfaces together for a proper seal. Use a small brush or applicator provided in the kit to apply the compound evenly.
Place the suction cup grinding tool onto the valve head, ensuring a secure and airtight seal. Hold the valve firmly in place and apply gentle pressure while rotating the valve back and forth. This action grinds the valve against the valve seat, removing imperfections and ensuring a tight seal.
Periodically remove the valve and inspect both the valve and valve seat surfaces for even grinding and a consistent contact pattern. Continue lapping until the desired contact pattern is achieved, indicating a proper seal.
Once satisfied with the grinding results, thoroughly clean the valve and valve seat to remove any remaining grinding compound. Inspect both surfaces closely to ensure they are smooth, clean, and free from any debris or imperfections.
After completing the valve grinding process for all valves, reassemble the cylinder head following the manufacturer’s specifications. Ensure all components are properly installed and torqued to the recommended values.
SDS InformationYou can find SDS/regulatory safety information for our products here. You can also find this link at the bottom of every page on Holts’ website.
This link takes you to a database containing MSDS sheets for all Holts products, including Tyreweld, Gun Gum, Radweld, Wondarweld, De-Icer and more. Simply select the relevant product in the drop down and you will be provided with all regulatory information for any Holts product.
If you have any further questions or concerns about Holts products or our ingredients, you can contact our chemists here. Our experienced team use rigorous testing and follow regulatory procedures to bring you safe, high quality products, and our team will be happy to help you with your query.
