When it comes to painting a car, any automotive professional will tell you the same thing: it’s all in the preparation. Whether you’re repairing a chip or re-spraying the whole car, prepping the paintwork is just as important as applying the paint, and plays a huge part in the quality of the end result. There are three methods typically used to prepare a car’s surface for painting: cutting, sanding and priming. From there, it’s just a case of choosing the right paint colour and applying it evenly to the surface to achieve a smooth finish that’s indistinguishable from the original paintwork.
To help you prep like a pro, we’ll guide you through some handy hints on cutting, sanding, priming and picking the right paint for your car’s new look, with insider tips to give your car a truly professional finish.
Ready to get started? Use the links below to navigate or scroll down for the full guide.
Quick Links
Cutting
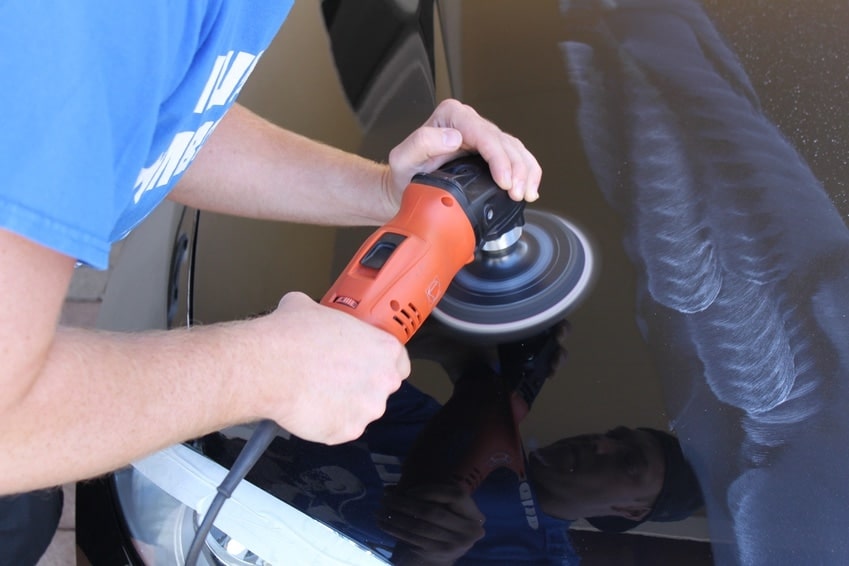
What is Cutting?
Cutting is a technique that involves using an abrasive compound to removes thin layers of paint. Cutting can be carried out as a prep step before you apply paint or afterwards to blend the new paint into the old.
There are different types of cutting compound, each with a different cutting power. Be sure to choose the right one for the job – if you’re unsure, just ask in store before buying.
How to Apply Cutting Compound to Your Car
Before you start the process of applying a cutting compound, be sure to tape off surrounding areas, especially if you’re applying it with a machine. It can get all over the place, so work smart; wear old clothes or overalls, safety glasses, gloves and cover up anything you don’t want to have to clean afterwards.
Using a clean cloth, apply the compound in a circular motion by hand. Larger areas might be a bit too big to do by yourself, so get an orbital polisher with the appropriate pads. Watch your pressure and be sure to pause every now and then to inspect the area you’ve just treated.
Expert Tips
- When you first start there’s a good deal of trial and error – so be patient and keep calm.
- Always take care to move the compound around; spending too long in one area can heat up the paint and burn it, creating more damage.
- Spraying water on the surface will cool the paint down and help to move the compound over the surface.
Sanding
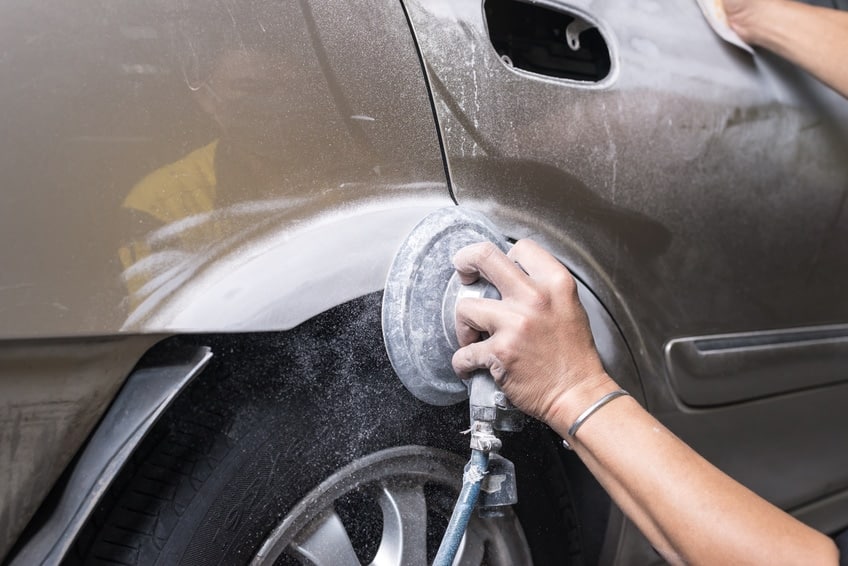
What is Sanding?
Sanding removes the top layer of your car’s paint using abrasive materials.
One of the most important parts of paint preparation, it’s well worth investing time to do it right for professional results. Depending on the job, sanding can be done with either sandpaper or an electric orbital sander, and you’ll need to use different grades of paper depending on the task.
How to Sand Your Car’s Bodywork
If you plan to strip paint from the car’s bodywork, use 1,200-grit paper or sanding pads to quickly remove the clearcoat and paint. To avoid the headache of trying to match the paint you want to apply to the existing paint on the car, you’ll need to remove the primer and expose the bare metal.
The paint on older cars may be incompatible with modern water-based paints and gel coats. Better to be safe than sorry – do it right and do it once.
You’ll want to ensure that no glossy spots remain on the car’s bodywork, otherwise the primer and paint won’t stick. It might be a long process, but it’s worth it to get the right results.
Expert Tips
- Alternatively, if you don’t need to completely repaint the surface and you’re doing a quick repair or touch up, smooth the surface using 2,000-2,500-grit wet and dry paper.
- Press lightly to remove minor light scratches in colour coats and clear coats quickly.
- Dealing with flaky paintwork? Read our guide on how to remove damaged paintwork safely and easily.
Priming
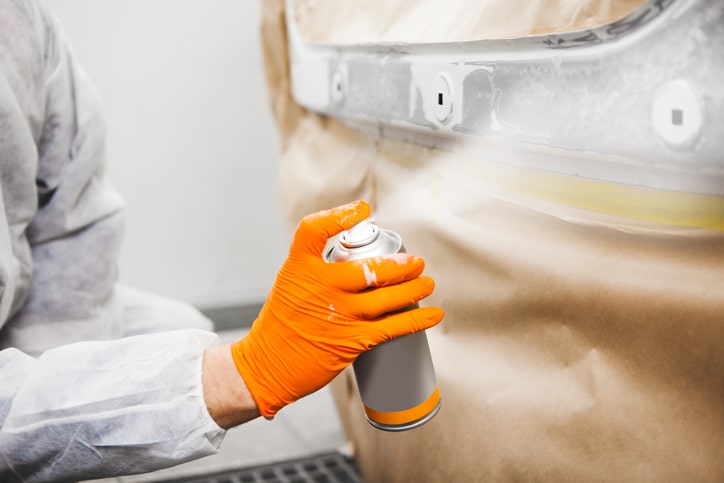
What is Priming?
An essential step in painting metal surfaces, and one you’ll need to do before applying any topcoat or colour; priming seals the surface and creates a protective barrier, creating the ideal surface for the colour coat paint to stick to. High-build primers contain high solids which help to smooth any imperfections on the bare metal.
How to Prime Your Car Before Painting
Always choose a high-quality automotive primer that’s developed for use on metal surfaces, and make sure the area you plan to paint is cleaned thoroughly before you start. Typically, you should apply two or more coats of primer to ensure the bare metal is completely covered. If you’re painting plastic, you’ll need a specific plastic primer.
Either way, make sure you’ve covered up the areas you’re not painting, and tape down any edges with masking tape. Is it dry and mild outside? These are the peak priming conditions you’ll want to work in.
If you’re doing the process indoors, cover up with eye protection, a dust mask and keep exposed skin covered. Apply the primer evenly to the areas that need painting and wait for it to dry.
Expert Tips
- Pause and inspect the area. This is the ideal time to take stock of the situation and work out if any further surface prep, such as sanding, needs to be done. You can clearly see any surface imperfection once the primer has dried. Don’t skimp on or rush this key stage.
- Remove any bumps or rough patches by re-sanding the area. Clean and re-apply the primer. It’s normal to have to repeat this stage a couple of times to get it right.
Choosing the Right Paint
Whether you’re painting your car a totally different colour or matching the existing paint, you’ll need the correct shade. Unsure what the correct colour for your car is? Holts Paint Match Pro makes things easy.
Using our clever paint match tool, you can pinpoint the right paint for your car based on its manufacturer, colour and registration year. With over 8,000 vehicle colour matches across the range, it’s possible to find the paint that’s the perfect match for your car in a matter of minutes.
Once you’ve picked the correct colour, check out our step-by-step guide to painting metal.
From the smallest job to major makeovers, at Holts we want your car looking and running its best. To find out more, and view our complete product range, visit the homepage.
