Painting bare metal can be tricky compared to painting other surfaces. For one, it requires lots of preparation to guarantee a flawless finish.
As well as that, you need to make sure the bare metal is adequately protected, particularly for surfaces that are going to be exposed to moisture and dirt. That means that the durability and resilience of the paintjob is critical to ensuring long-term results and protection.
The secret to painting metal is all in the preparation. Cleaning, sanding and treating patches of rust will all need to be carried out before you even think about applying the paint, so make sure you have all the tools you’ll need to hand before you start.
Whether you’re painting a car, a bike or a piece of metal furniture, there are a number of steps you should take to ensure a smooth, hardwearing finish. From cleaning and prep to rust removal and painting tips, our DIY guide to painting metal will show you how to get it right on the first time of asking.
Quick Links
- Step 1: Cleaning and Preparing Your Metal Surface
- Step 2: Removing and Treating Rust on Metal
- Step 3: Cutting, Sanding and Priming Before Painting Metal
- Step 4: How to Choose the Right Metal Paint
Step 1: Cleaning and Preparing Your Metal Surface
The first step to painting metal is to clean the item/area thoroughly. This is a critical step that will ensure consistent and flawless results later on, as well as optimal paint adhesion.
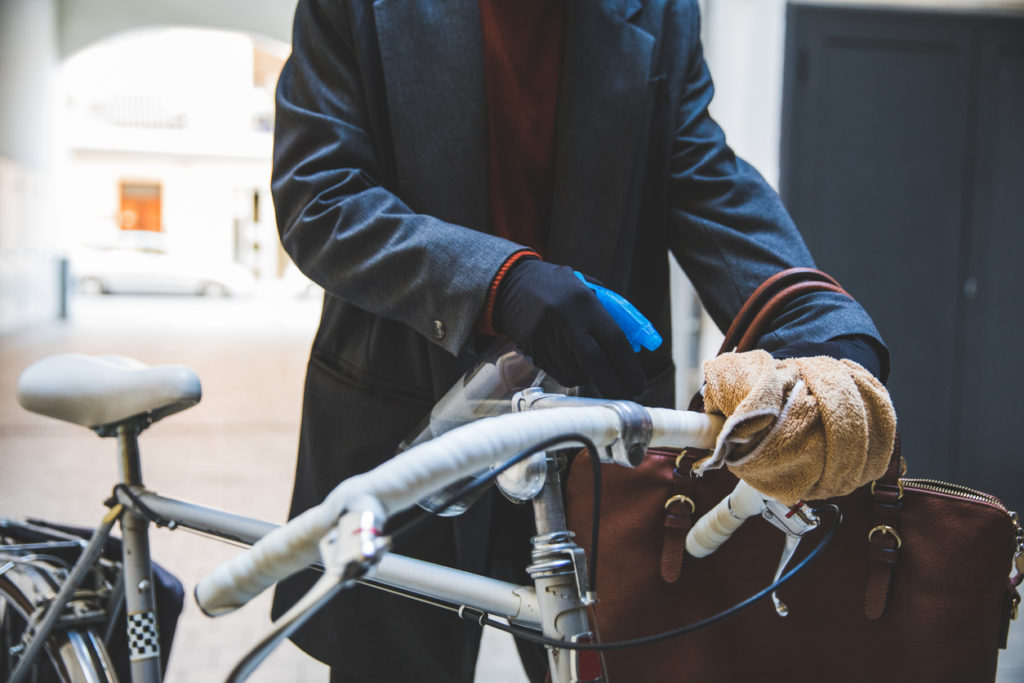
You can use a cloth, a brush or a sponge for cleaning metal surfaces – it all depends on the surface and how dirty it is. A brush is great for removing stubborn dirt as well as flakes of old paint, while either a microfibre cloth or sponge will be better for smaller and more delicate surfaces.
As for the cleaning products to use, a regular car shampoo will do the job without damaging the surface of the metal. It’s also really important to ensure that the surface is completely dry before you start other preparation work. Paper towels work best for completely absorbing moisture, or you can use a microfibre towel, chamois leather or heat gun.
Top tip – just before you start painting, use an alcohol or solvent wipe to give the areas a final once-over. This will make sure that any grease or dirt that has settled on the surface is totally removed.
Step 2: Removing and Treating Rust on Metal
If rust isn’t dealt with quickly and effectively, it can spread and cause all kinds of problems (and not all these are cosmetic). By far the best way to deal with rust is to remove it completely.
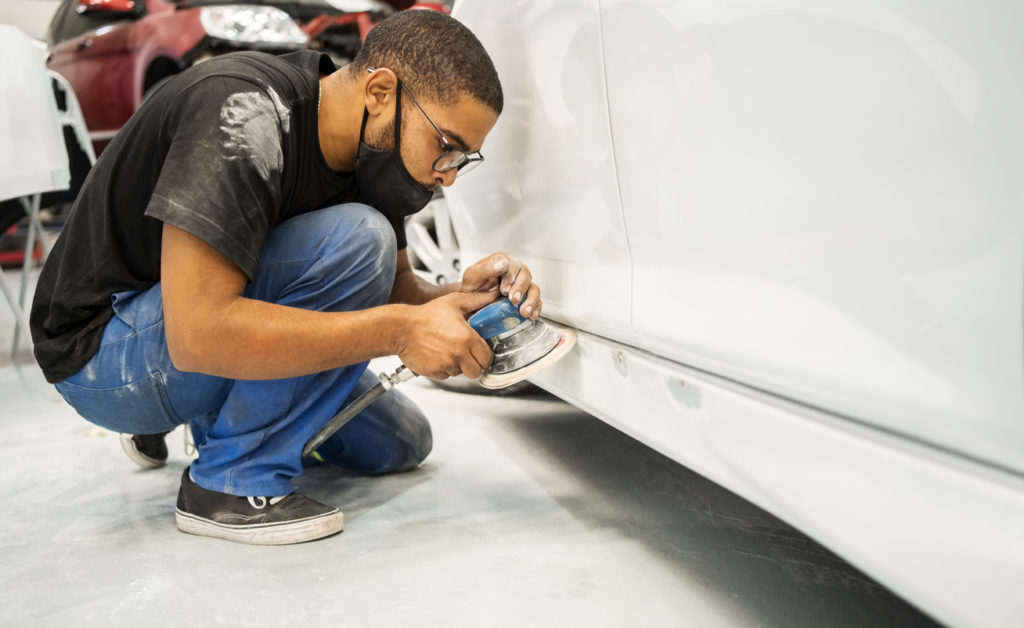
Typically, there are three ways to remove rust from metal surfaces: with an angle grinder, an orbital sander or by hand. The method you choose will depend on the scale of the rust, where it’s located and the surface itself, so be sure to consider the best option for your needs.
When there is a deep chip or scratch that’s rusted and you don’t want to disturb the surrounding undamaged paintwork, removal is not an option. You can, however, treat it using a specially designed rust treatment product. Ask your local specialist automotive store for advice and recommendations. Take care to remove any loose or flaking paint before you treat the rust.
Once the rust has been either removed or treated, don’t hang about – clean and prepare the surface and prime it as soon as you can. This will seal the surface and prevent the bare metal from oxidising (rusting) again.
Step 3: Cutting, Sanding and Priming
Cutting, sanding and priming are three of the most commonly used methods for preparing metal surfaces for painting. If you’re not sure how these work, it’s well worth reading our full guide to the process; we’ve also provided a brief introduction below…
Cutting
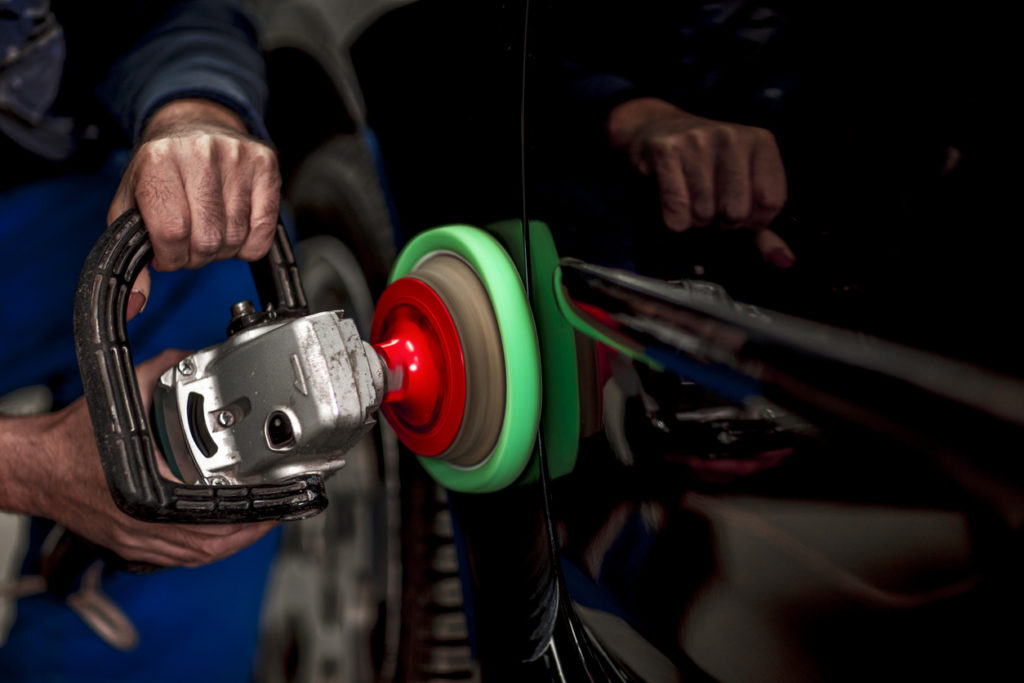
Cutting is the process of using an abrasive compound to remove thin layers of paint. It should be carried out during the preparation stage, or afterwards as a means of blending the new paint into the old.
There are different types of compounds each with a different cutting power. Be sure to choose the right one for the job!
Sanding
We’re sure you all know what sanding is – it’s the process of removing old paint with an abrasive sand-coated surface.
One of the most important parts of paint preparation, it’s well worth investing time to do it right. Depending on the job, sanding can be done with either sandpaper or an electric orbital sander, and you’ll need to use different grades of paper depending on the task.
Priming
Priming seals the metal and creates a protective barrier, providing the ideal surface for the paint coat to adhere to.
Priming is an essential step in painting metal surfaces, and one you’ll need to do before applying any topcoat or colour. High-build primers contain high solids which help to smooth any imperfections on the bare metal.
Step 4: Choosing the Right Paint
For painting metal, you need the right kind of paint. If you’re painting your car, you’ll want to make sure that the colour is matched perfectly. There are thousands of different colour names and codes, so it can be confusing, but if you use Paint Match Pro you’ll quickly be able to find the right paint. Just search by manufacturer, colour or year.
If you’re painting a different metal surface, such as a bike, it’s easier to choose the colour you want, but you need to make sure that it’s a paint suitable for metal. Holts Paints give you a professional quality finish and are easy to use.
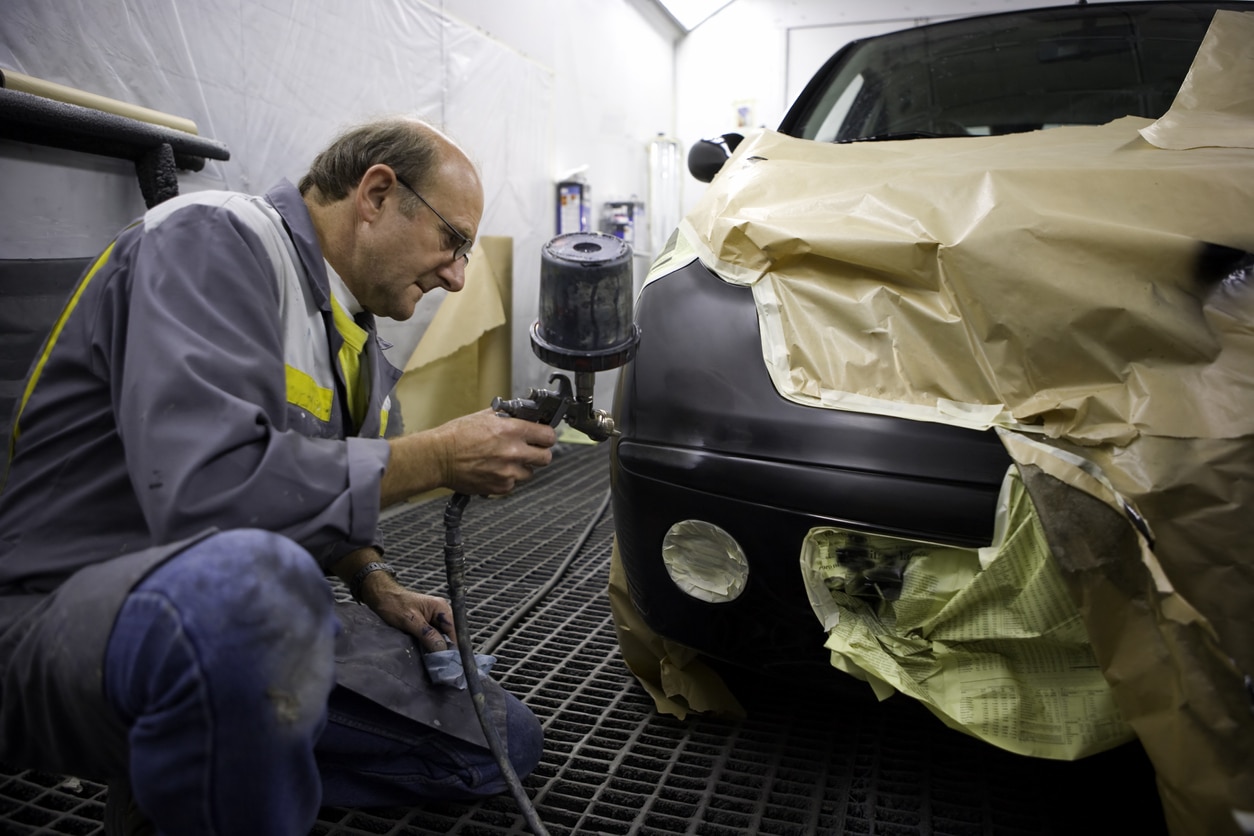
If you’ve prepped the metal carefully, you should be able to spray a nice even layer of paint over it for a smooth and flawless surface.
We hope this guide helps you achieve a professional job when painting bare metal surfaces. For more helpful guides and advice, visit the Holts blog.
