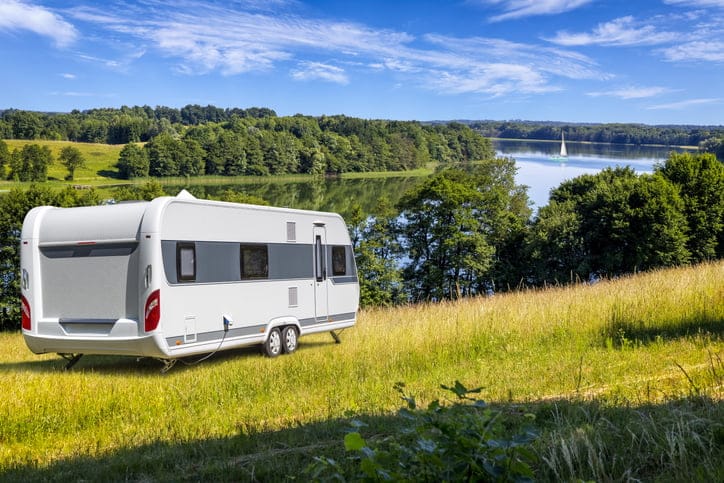
Caravans are a great way to get out and about over the summer, giving you freedom to explore the UK and go where you want when you want. A caravan’s a big investment though, so you want to make sure you’re taking care of it inside and out to make the most of it.
If you’re new to caravanning, our guide to troubleshooting and looking after your caravan covers the essential maintenance and servicing that’s needed ahead of your first summer outing. Use the links below to navigate the guide and get the advice you need.
- Mechanical Caravan Maintenance Tips
- Interior Caravan Tips and Servicing
- Troubleshooting Caravan Leaks and Other Problems
Mechanical Caravan Maintenance Tips

Charge the Battery
If you’re taking it out for the first trip of the summer, you’ll need to check the battery. Batteries can lose their charge easily when they’re not used, particularly in cold weather, so we’d recommend using a voltmeter to check how much juice it has and whether you need to give it a charge.
Charging a caravan battery is easy. Most caravans have a built-in charger, which feeds the battery with a steady stream of 13.8v when you’re hooked up at a campsite. But we’d recommend using a portable one to give the battery a good boost before setting off. Portable chargers allow you to add more power quickly, say a maximum of 15v, which will really wake up the battery and get it going after a long spell of being stood.
Check the Tyres
Just as you’d check your car tyres before a long drive, it’s essential that you keep on top of the condition and pressure of your caravan’s tyres and wheels.
- Make sure they’re at the right pressure as recommended in your caravan’s manual (accounting for different weight limits)
- Double-check the tread depth ahead of the new season so that you know you’re safe and legal.
You should think about replacing your tyres if you notice any of the following:
- A marked drop in pressure
- A worn appearance
- Small cracks on the outer wall
It’s also worth taking it for an annual wheel alignment, just to make sure you’re getting the best safety and performance when you’re out on the road.
Check the Handbrake
Just like with a car, caravan handbrakes are prone to seizing up and rusting when the vehicle has been left standing for a long period, which could obviously cause problems when you start driving.
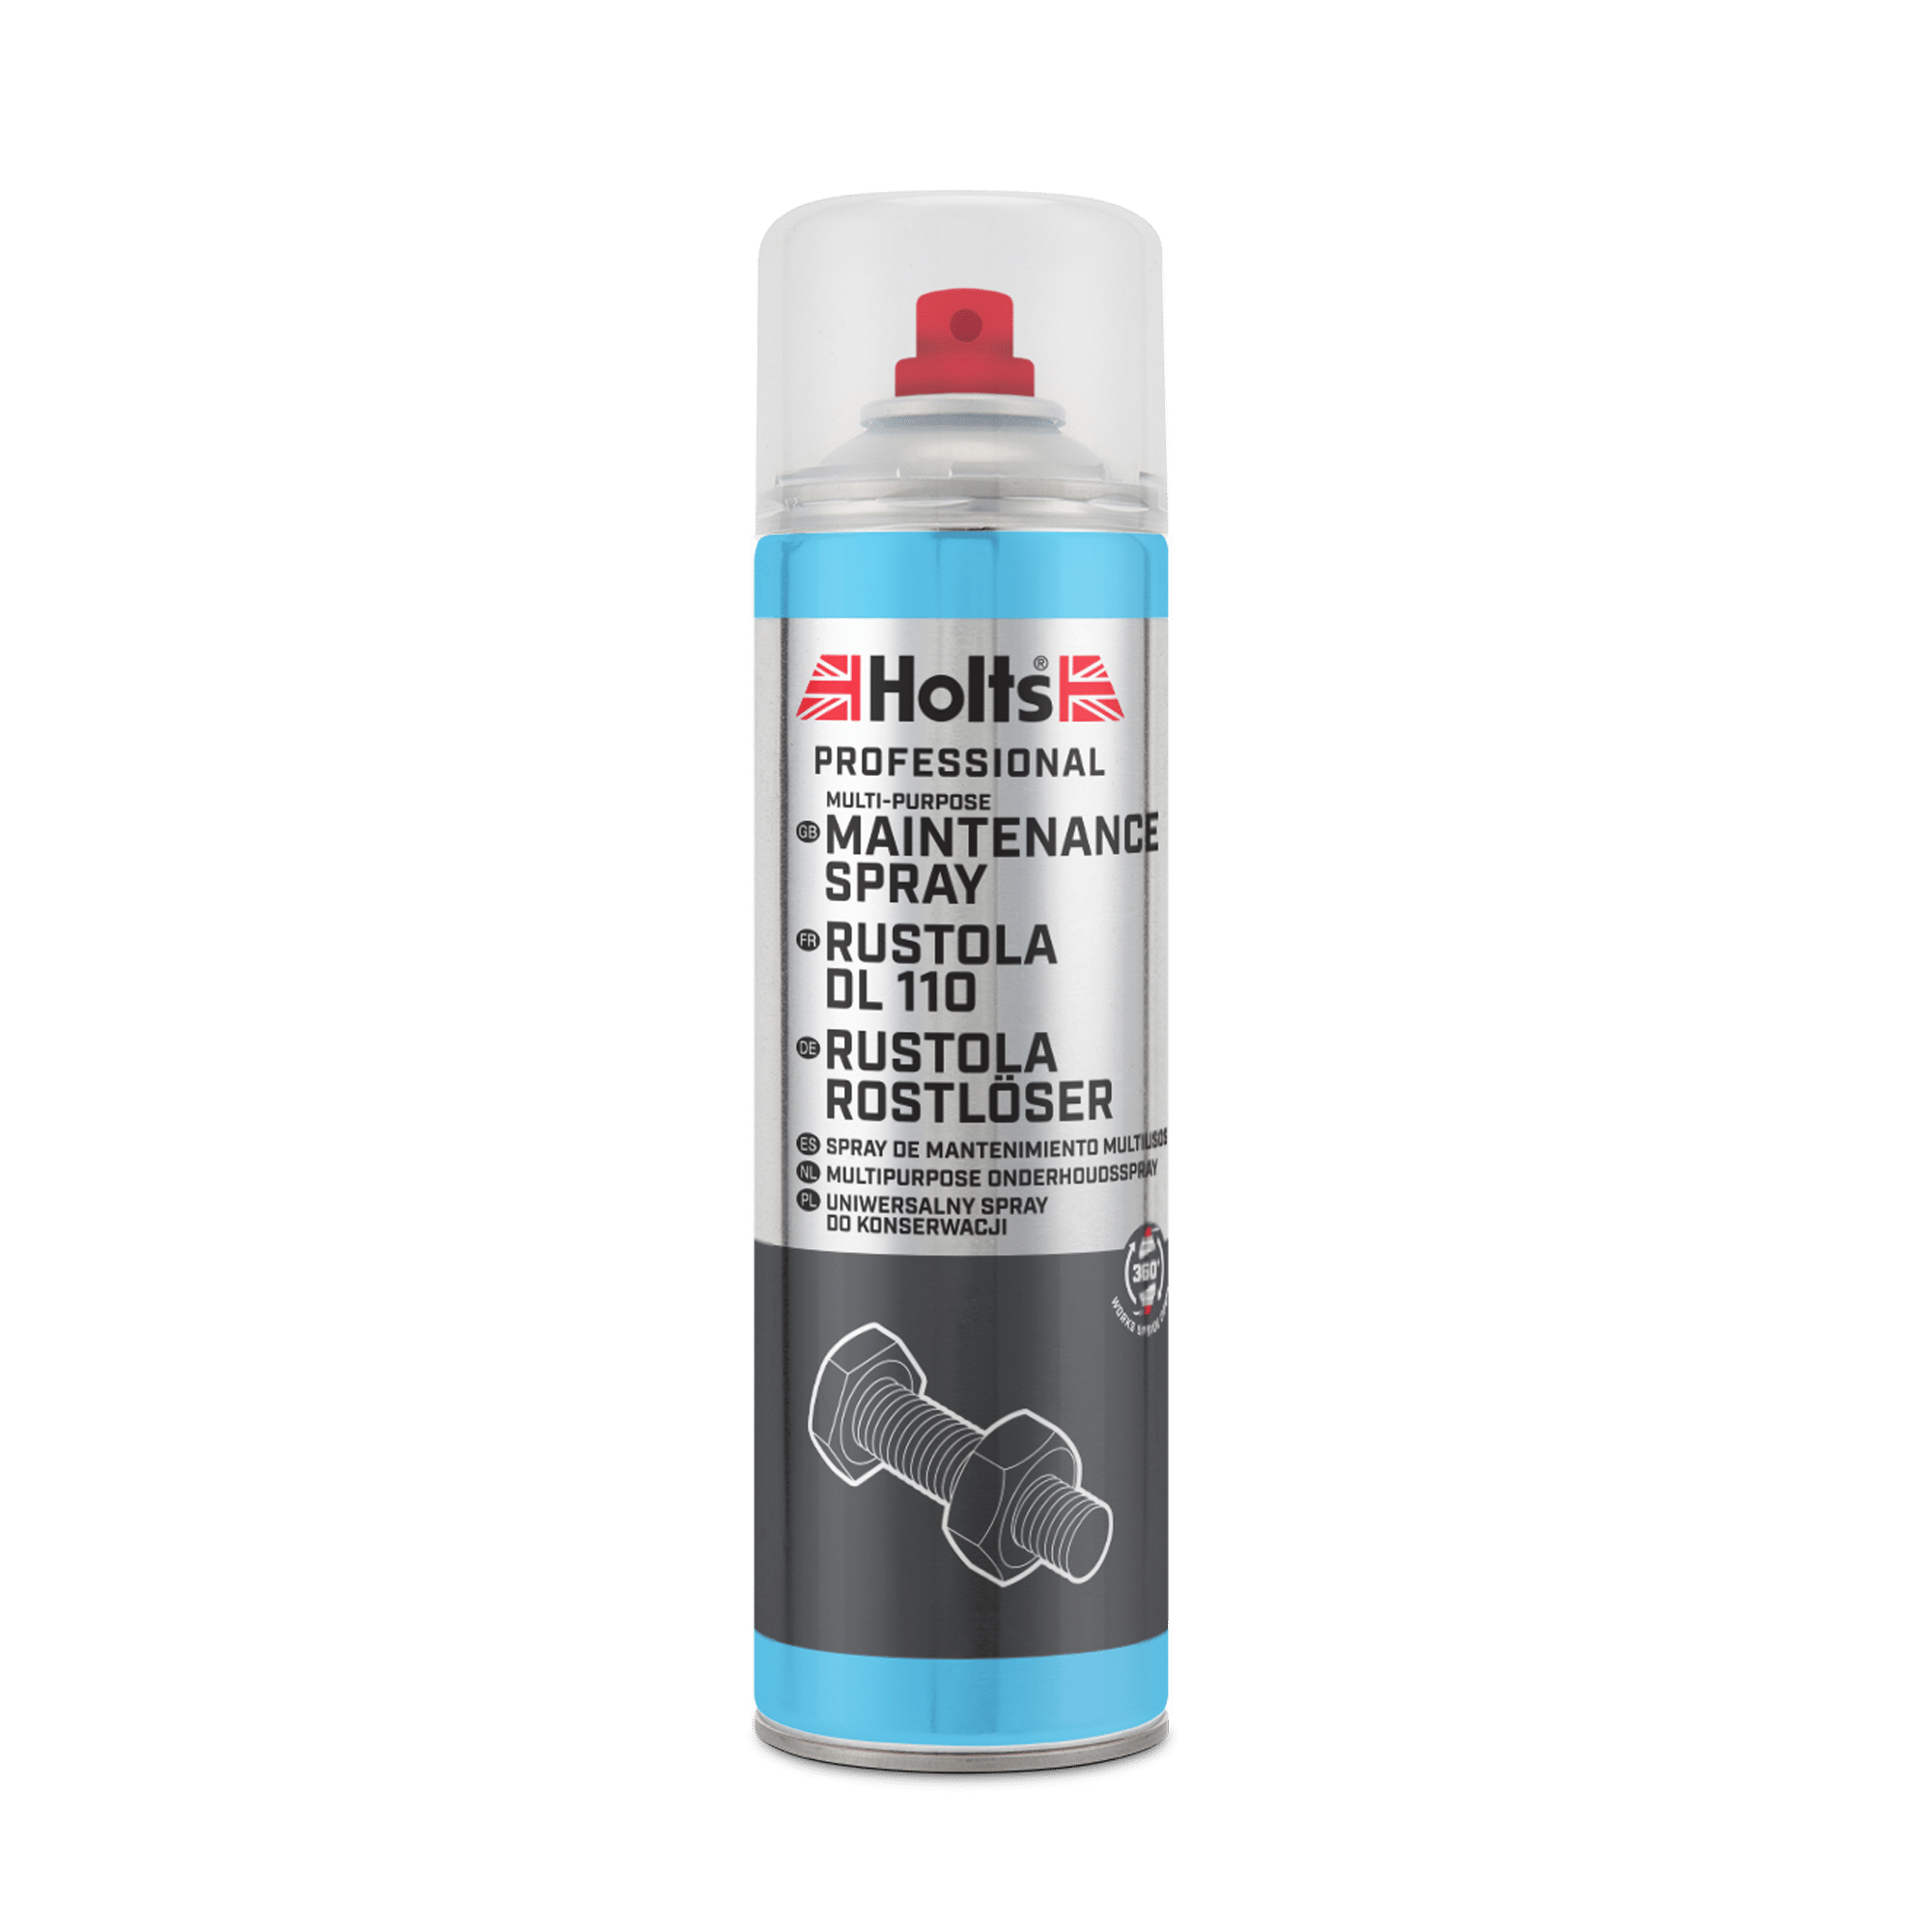
To make sure your caravan’s handbrake is working properly, test it by activating and deactivating it several times to loosen it up. If it feels stiff or there’s a slight delay between you deactivating it and the brakes coming off, use a maintenance spray to lubricate the seized parts and provide protection from rust.
Check the Lights
When you hook up your caravan for the first time after winter, take a moment to check that the lights are working. A bad connection can mean that your caravan’s brake lights and indicators don’t work properly, so a quick check could make a big difference.
- Start by checking the plug, making sure the pins are straight, clean and free from rust; the casing should also be free from damage or cracks.
- Then, look at the cable itself, making sure there’s no damage to the outer cover, like nicks or cracks, which could cause problems.
- Finish up by checking the bulbs, making sure they’re working ok when the caravan is hooked up. You may need to replace the bulbs or clean the contacts if you find a light not working.
Check the Condition of the Tow Ball and Mechanism
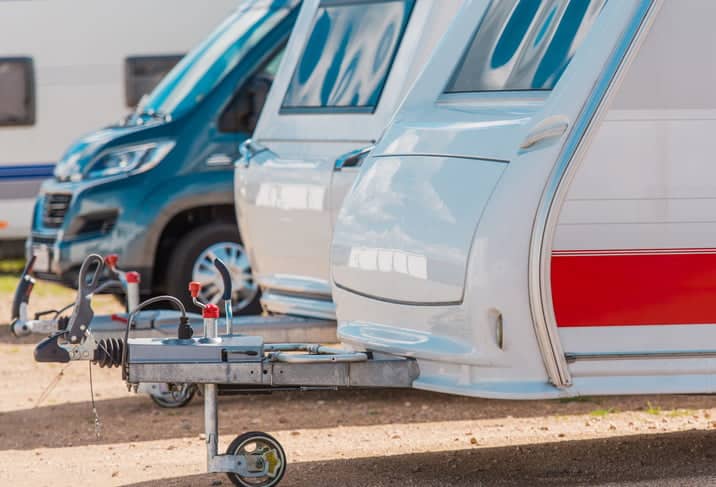
It’s quite easy to overlook the condition of your caravan’s towing mechanism, but just like any other exposed metalwork, it can start to show signs of rust and wear with repeat use. For a tow system to work properly, it needs to be kept in perfect condition, with a smooth, clean tow ball and adjoining mechanism.
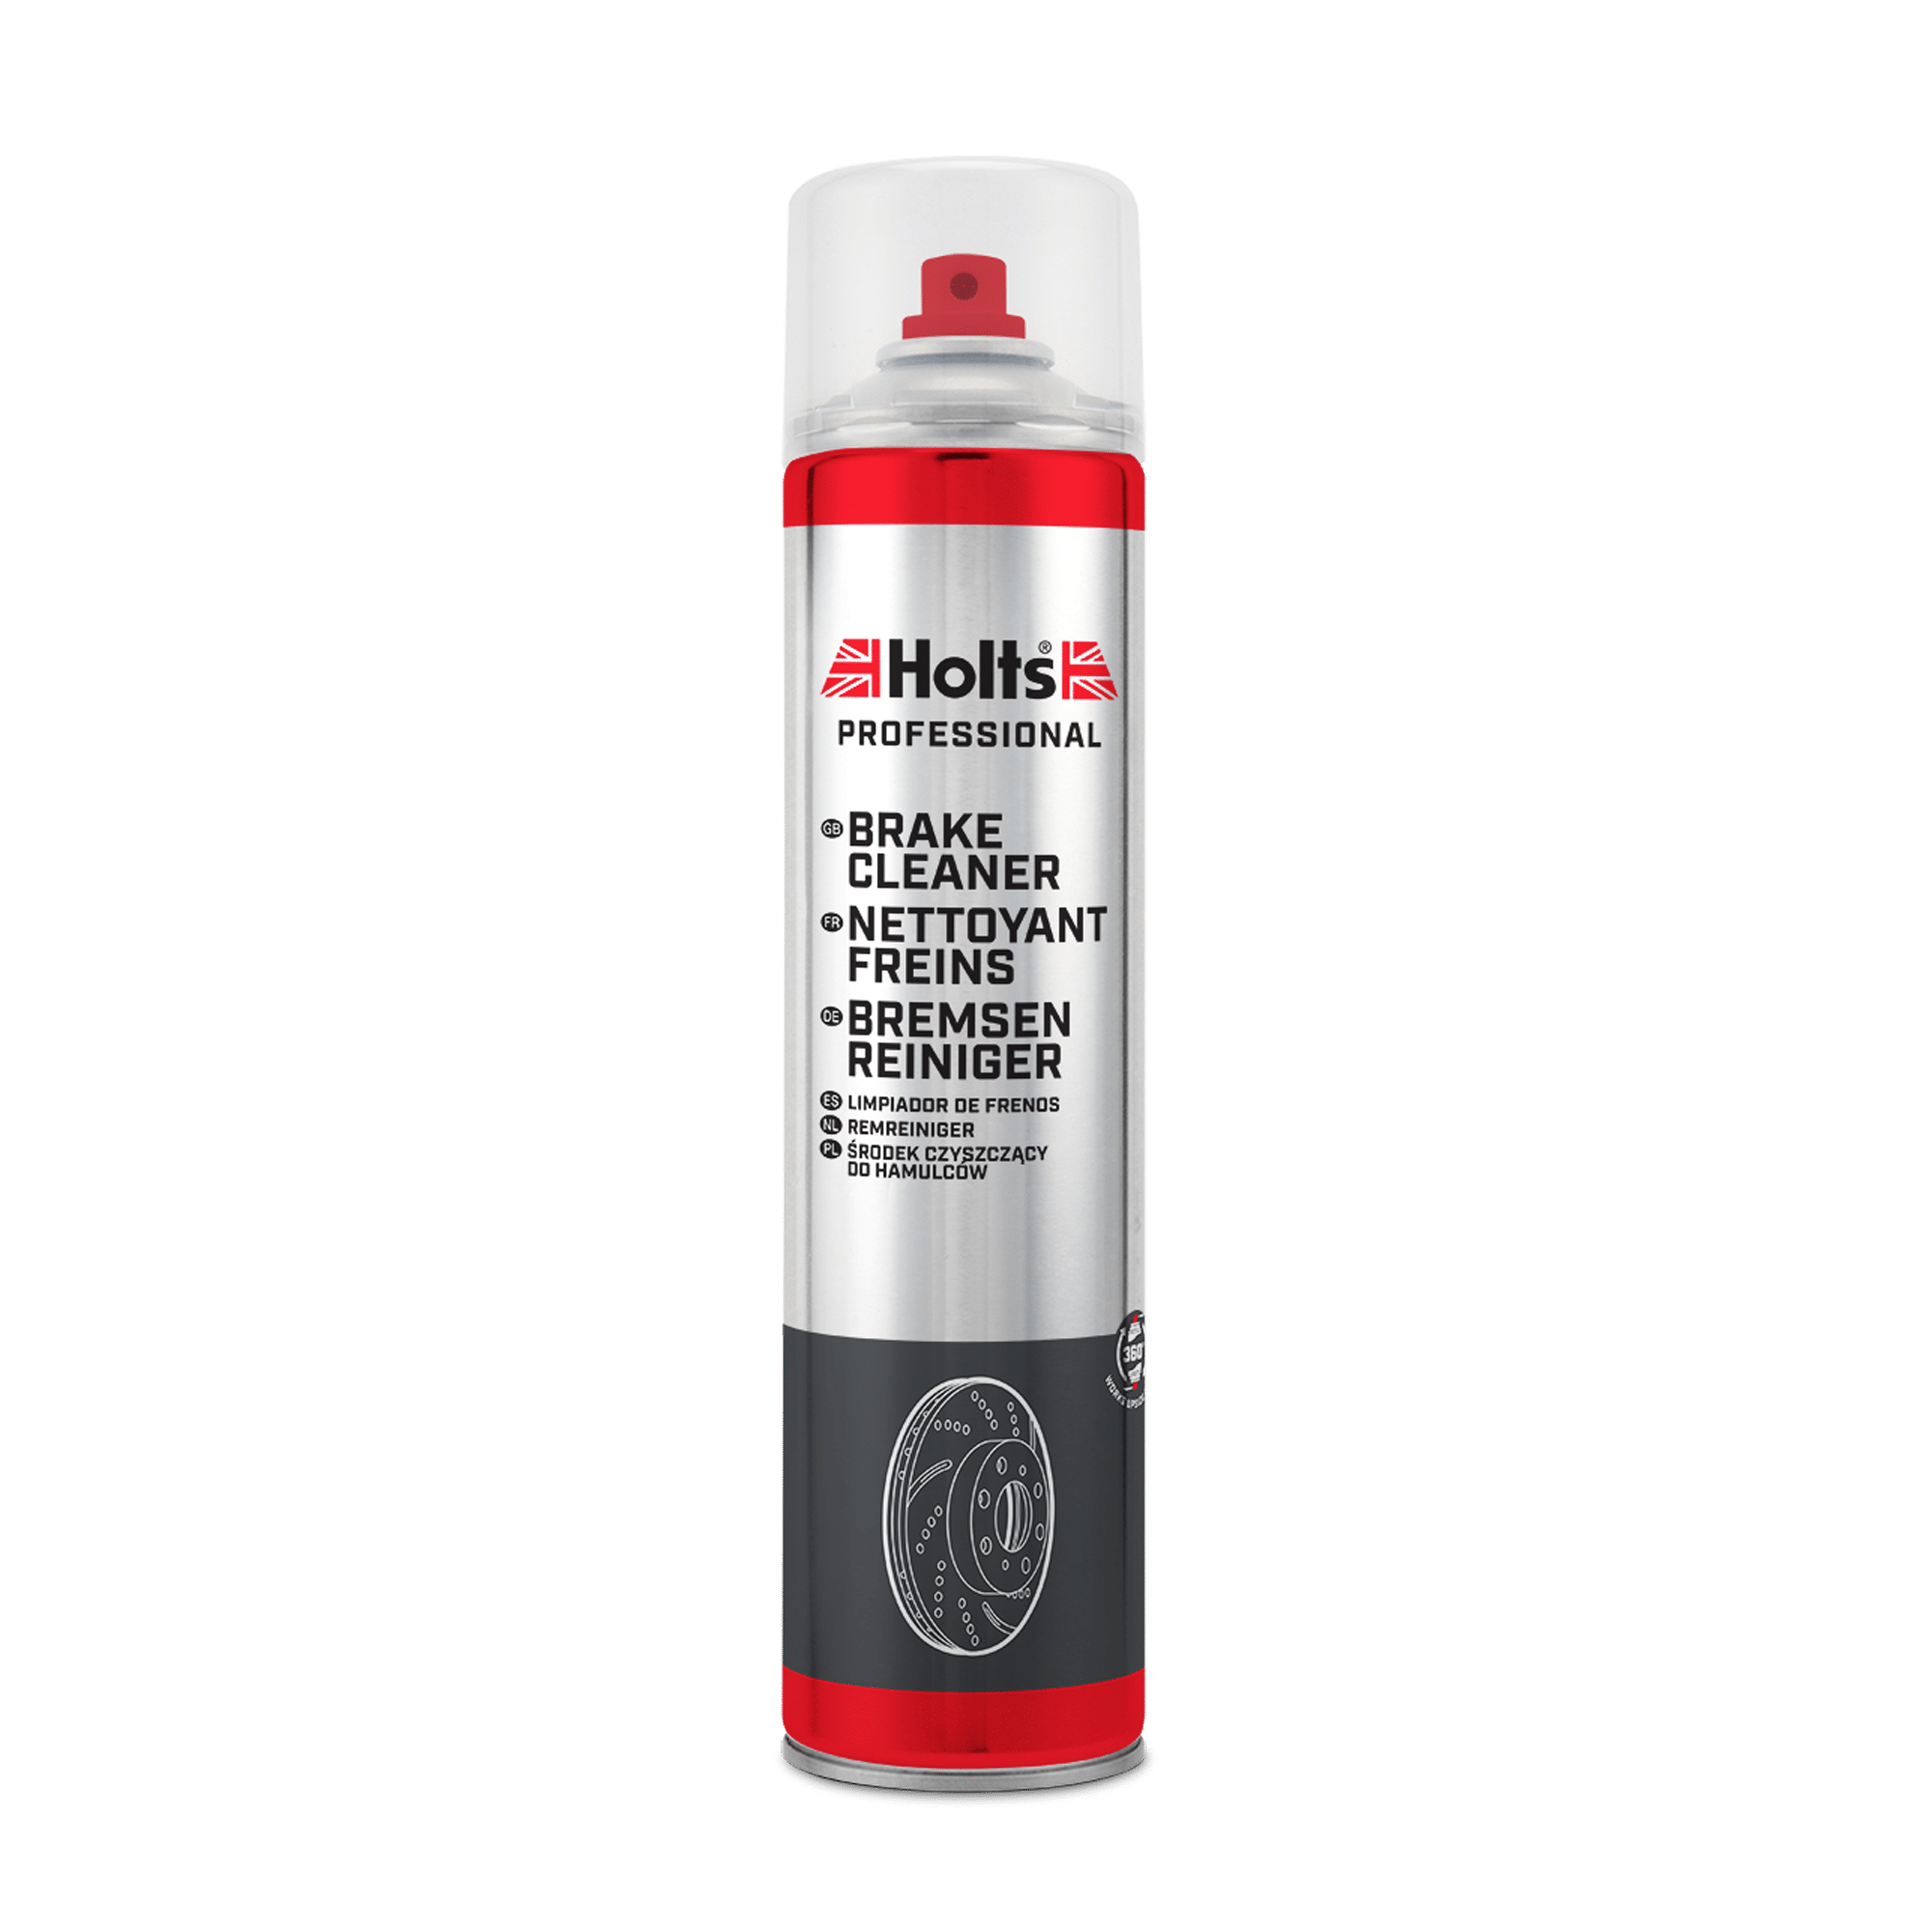
Most modern caravans use a dry-hitch system, which means there’s no grease or lubricant. This can make them tricky to maintain and keep rust-free, but one product that’s great for cleaning up a tow bar and tow ball is brake cleaner. Brake cleaner can remove grease, dirt and oily deposits quickly and easily, so you can keep metalwork like a tow bar clean and well-maintained.
Learn more about tow bar safety and maintenance
Interior Caravan Tips and Servicing
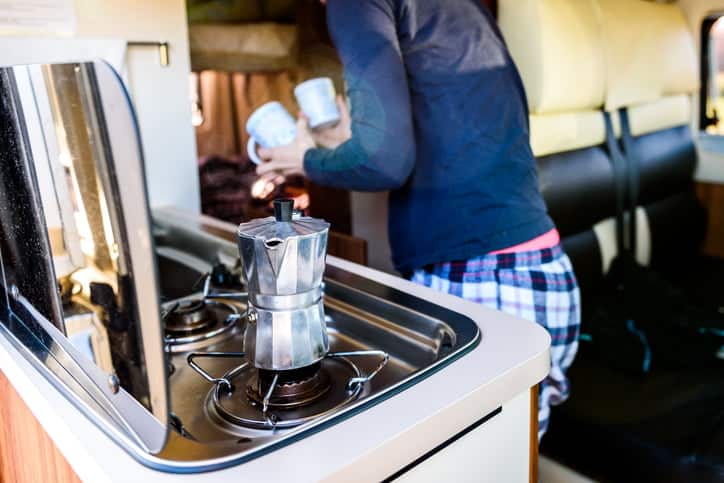
Before you hit the road, it’s a good idea to head inside your caravan to check all the appliances, electrics, safety features and other moving parts to make sure everything’s working as it should. Here’s a checklist of things to check and service inside your caravan:
- Check the Electrics – Make sure all the lights, heaters and other electrics are working ok, including the plug sockets.
- Check the Gas Appliances – Hitch up a gas bottle and make sure the gas appliances are working, with no leaks or drops in pressure. Have a carbon monoxide alarm to hand to alert you of any leaks.
- Check the Water System – It’s a good idea to sterilise the water system ahead of the caravanning season; there are dedicated products that you can run through the system to clean it.
- Make Sure Curtains and Blinds Are Refitted and Working – You may need to apply some maintenance spray to the rails and rollers to make sure curtains and blinds work smoothly.
- Clean and Wax the Interior and Exterior – Get your caravan looking summer-ready with an all-round clean and wax.
- Check the Condition of Your Caravan’s Safety Features – Check that the smoke alarm has new batteries, safety catches are working, and the fire extinguisher is functioning as it should.
Troubleshooting Caravan Leaks
While modern caravans are generally really good at coping with the demands of British roads and British weather, they are susceptible to a few faults which can result in ongoing problems and expensive repair bills – the worst of which being leaks. Here, we take a look at checking for and troubleshooting leaks on a caravan.
How to Spot a Leak on a Caravan
Leaks are easily one of the most common faults which can develop on your caravan. They normally start around the windows, particularly the one at the front, as well as along the seams which hold each side of the caravan together.
The best way to check for leaks is to closely monitor the moisture levels around these key areas; you can do this with a moisture meter, which you can buy for under £10. A normal moisture reading is about 10-15%, but if areas of your caravan are showing anything over 50% it’s likely that there’s a small crack or hole that’s letting in moisture.
If left unchecked, a leak can rot the internal wood and materials, which may result in an entire section of your caravan needing to be replaced.
How to Repair a Leak
You may be able to repair a leak on your caravan by replacing the window seals or by upgrading the hinge pins to more robust screws that ensure a tighter window seal. In any case, check with a professional and have your caravan moisture and damp-proofed regularly to prevent leaks and keep it in pristine condition.
Whether it’s a car, van or caravan, our DIY maintenance products can help you keep all your vehicles on the road. For more information, visit the Holts homepage today.
