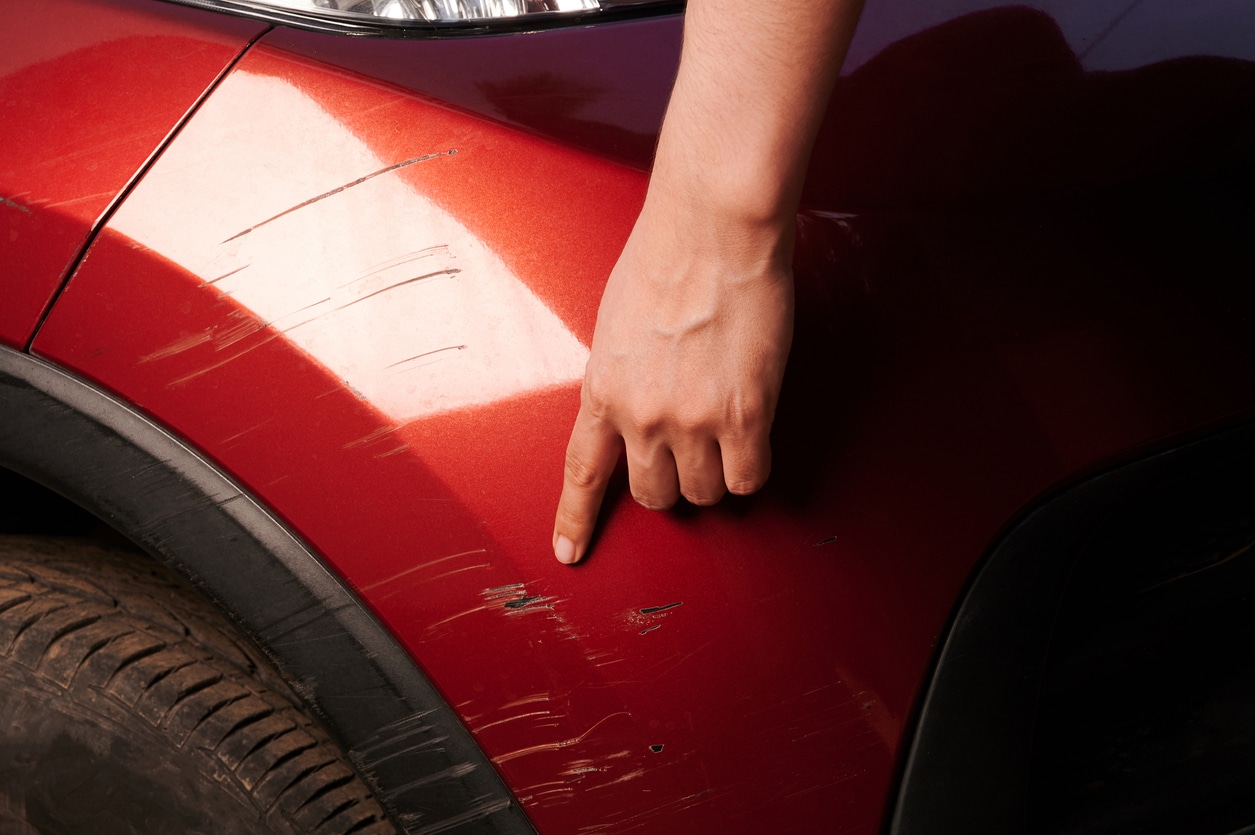
Lots of things can cause scratches to appear in your car’s paintwork, whether it’s from a careless driver, loose pebbles chipping away at your paint or even a rogue keying here and there. If not dealt with quickly, deep scratches and chips which expose your car’s bare metal can rust within a few days and cause serious headaches. Thankfully, Holts has the solution.
Our guide to repairing scratches and chips in car paint can help you perform a professional repair with just a few tools and the right preparation. Even if rust is already present, we’ll show you how to deal with the problem and repair the area to a flawless standard.
A lot of people worry about the expense of fixing scratches like this, but the Holts Paint Match Pro range means avoiding costly trips to the repair shop. As well as a huge range of over 8,000 compatible car spray paints, we also offer specialist primers and clear coats that are perfect for use on vehicles.
Follow these steps to repair the scratch and get your car looking spot on once more.
Step-by-step guide:
- Step 1: Clean and Prepare
- Step 2: Apply the Colour Coat
- Step 3: Apply the Clear Coat
- Step 4: Flatten the Area
- Step 5: Finish Up
Step 1: Clean and Prepare
When carrying out any work on your car’s paintwork, preparation is the key to getting great results. Here are some helpful tips on how to clean and prepare your car before repairing a scratch or chip.
Wash your car
Start by washing your car with a car shampoo and sponge or microfibre cloth. Then make sure it’s completely dry before you move on to any other preparation work.
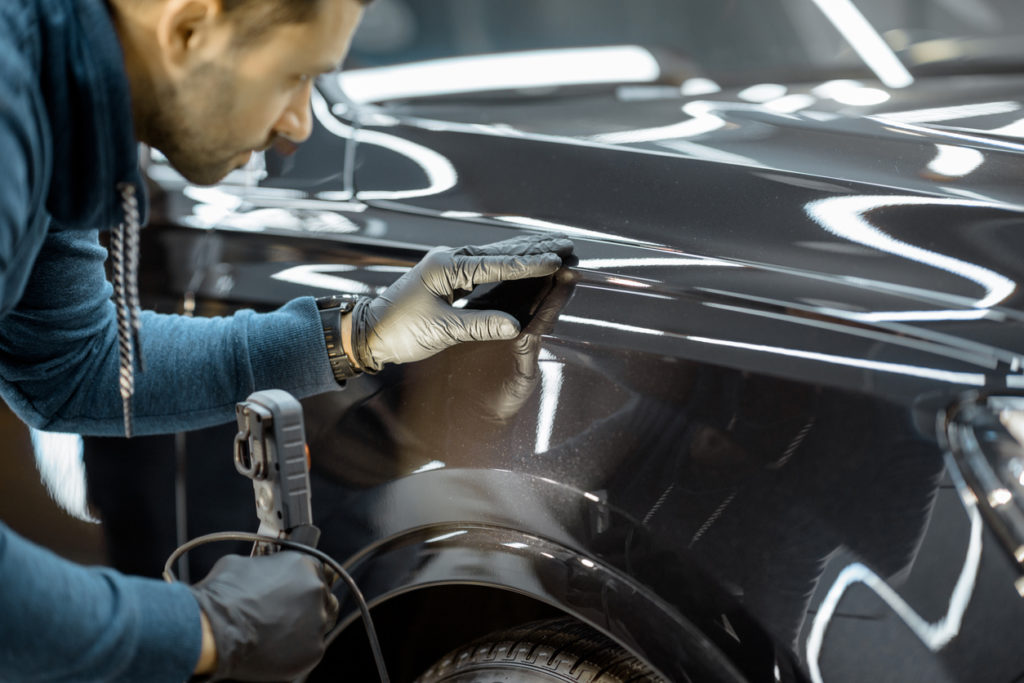
Assess the scratch
You can now assess the depth of the scratch. If you’re lucky the damage will only expose the primer.
If bare metal is exposed and it has already rusted, check out our comprehensive DIY Guide to Painting Metal for tips on how to deal with this issue.
Prepare the area
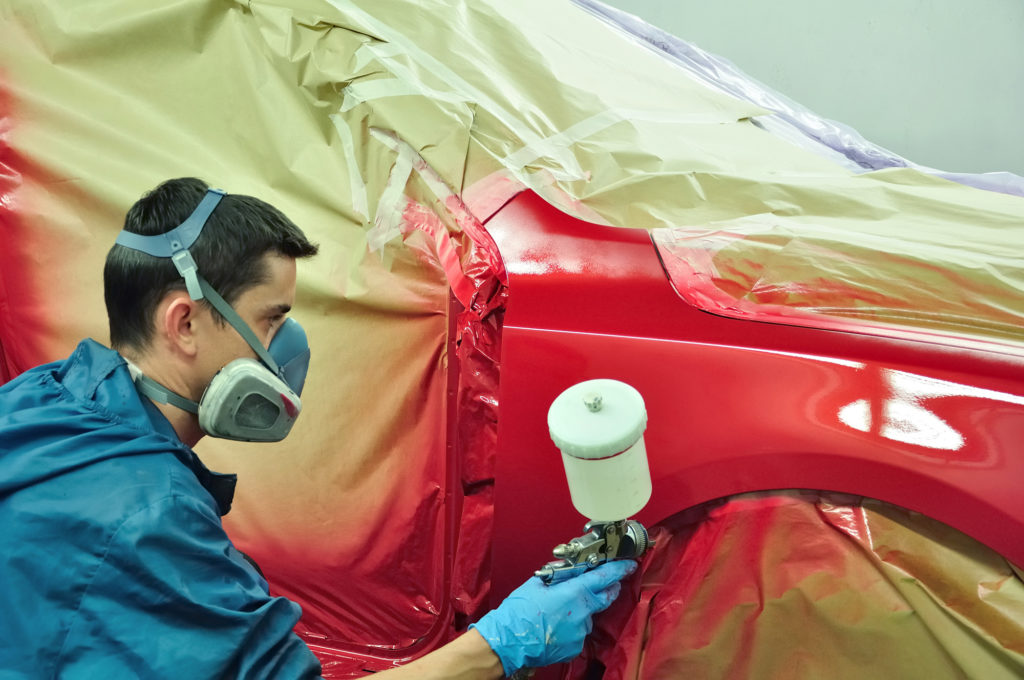
Start by using masking tape and newspaper to cover the surrounding area to avoid over spray to the undamaged paintwork. The area you need to mask will depend on the size of the damaged area, but it’s better to be safe than sorry.
If in doubt, always mask off a much larger area as the spray paint can travel in the air and settle on undamaged paintwork.
You’ll now need to use a paint rubbing or cutting compound on and around the scratch. Use a circular motion to remove a very thin layer of the surrounding paint – a couple of centimetres either side of the scratch will do. This will help later when you’re blending the new coats.
If there’s any excess compound or mess, clean it up so the area is clear for painting.
For more tips on cutting and sanding existing paintwork, read our full guide here.
Step 2: Apply the Colour Coat
Choosing the right colour
You’ll need to buy touch-up paint that perfectly matches your car’s paintwork — and that’s where Holts Paint Match Pro comes in. Using our simple online colour match checker, you can quickly find the right paint for your car based on its manufacturer, colour and year.
The Paint Match Pro range features over 8,000 car colours, and the simple-to-use can is perfect for DIY repair and renovations.
Apply your chosen paint
Either spray the colour coat or use a fine paintbrush or cocktail stick to build up thin layers. The key is to build the paint to just below the level of the surrounding clear coat.
Leave between 10-30 minutes between paint applications – the paint will dry at different speeds depending on the temperature.
Step 3: Apply the Clear Coat
Once you’re happy with the level of the colour coat and it has completely dried, apply the clear coat in thin layers so it sits just above the surrounding paint. Again, allow between 10- 30 minutes between applications depending on temperature.
You might need to leave the paint to harden for a day or two before moving on to the next step.
Finally, you need to smooth the area so it’s flat and can’t be noticed next to the original paint.
Step 4: Flatten the Area
You’ll either need to use a very fine grit wet and dry sandpaper (2,500 grit, for example) or an abrasive rubbing/cutting compound depending on the size of the scratch. Just as you did in the preparation stage, work the compound in a circular motion a couple of centimetres either side of the repair.
If you’re sanding it, use a coarse sandpaper at first, changing the paper for a finer grit to work up to the 2,500-grit sandpaper in stages.
Step 5: Finishing Up
Use a polish, not a polish compound, to give your car that professional quality finish. Follow the instructions on the polish. Want it to radiate shine? Give it a wax and buff for that added gleam.
Whatever the shade or hue, Holts Paint Match Pro matches to your car paint – just use our handy tool to pick the right colour. Our paints are easy to use and repairs can be done there and then on your driveway.
At Holts, we’re committed to solving your car problems. To find out more, and view our complete product range, visit the homepage.
